

One of the hardest parts about photographing items to sell online is making sure your background looks clean and put together. Making your own backdrop leaves you in control of the color, the size and gives you the ability to move it around (like outside for natural lighting!) I decided to take inspiration from @perdiemthrifts and dive into making my own backdrop.
I’ll show you what I did and how you can do it too!

What you’ll need:
- Sanded 8’x4′ wooden board (cut to specifications below*)
- 2 Quarts of paint in your chosen colors
- A paintbrush kit, with an extra tray + a paint stirrer
Optional:
- a butter knife to stir the paint because you forgot a paint stick
- a sanding block to smooth out any rough edges
I purchased all of my supplies from Home Depot.
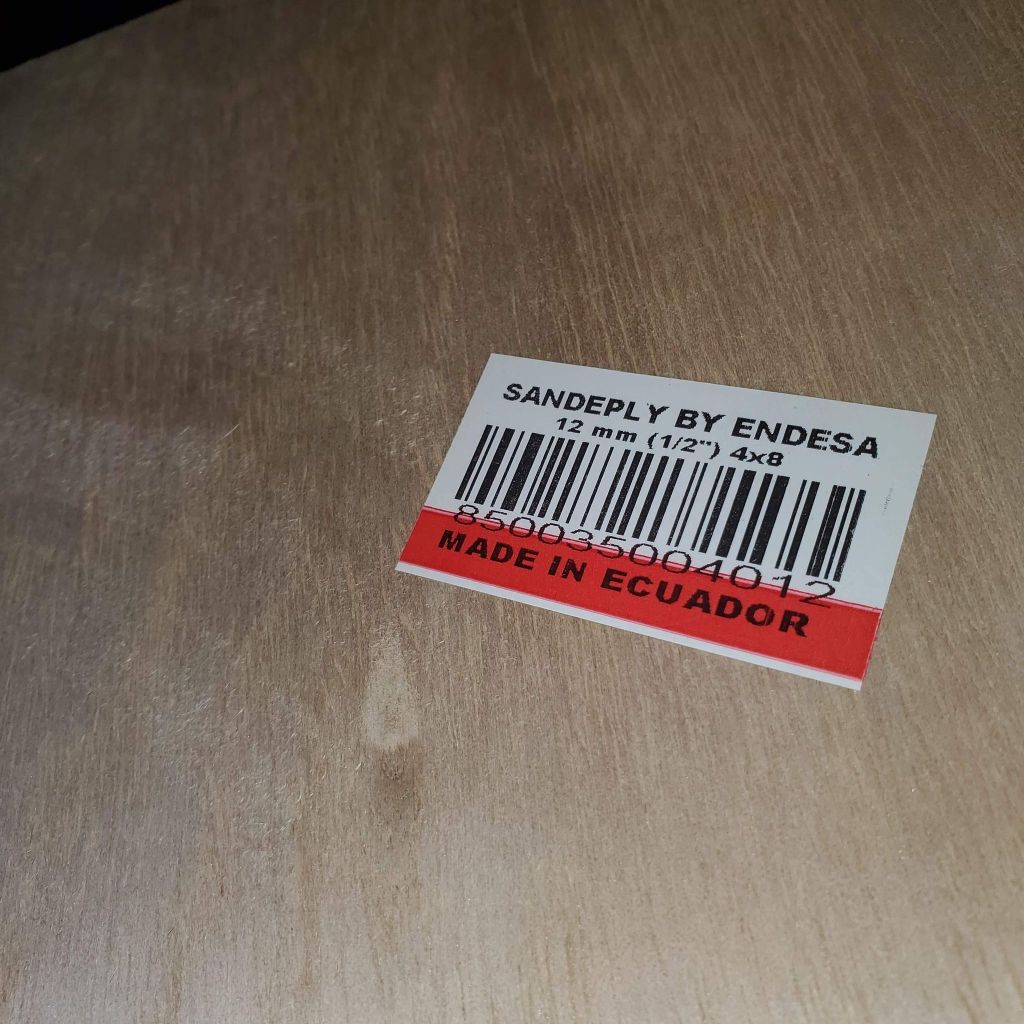
First you’ll need to wander down to the lumber section and pick out a board! I personally went with a 1/2″ 4’x8′ sanded board for a little under $40. You can check that out HERE. If you like what I picked, just check to see what aisle and bay it is in for your store – that’ll save a lot of time!
Once you find your board, ask them to cut the board down to 6ft, leaving the width at 4ft. Then ask them to cut the portion removed in HALF. You’ll use these for a smaller photo set up at no additional cost!
Next you’ll need to pick out paint and the needed materials to apply said paint.
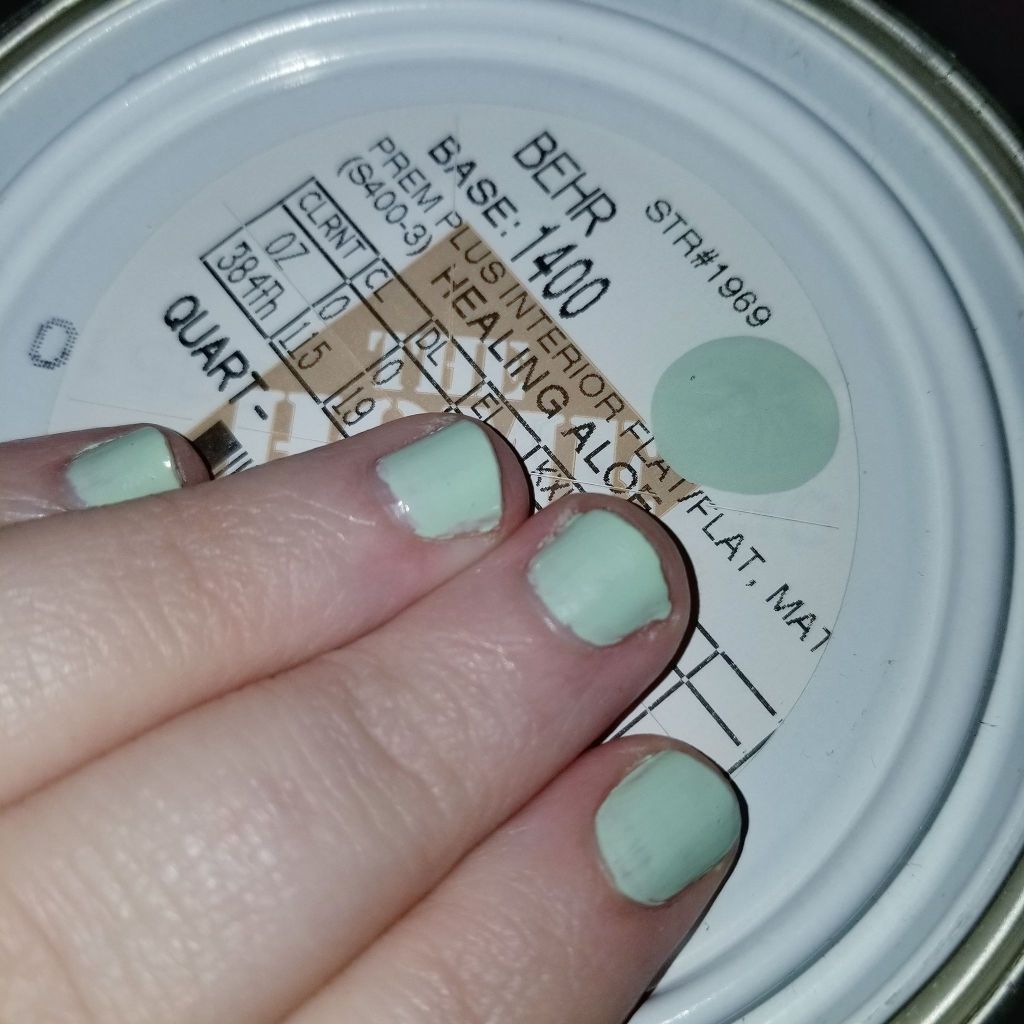
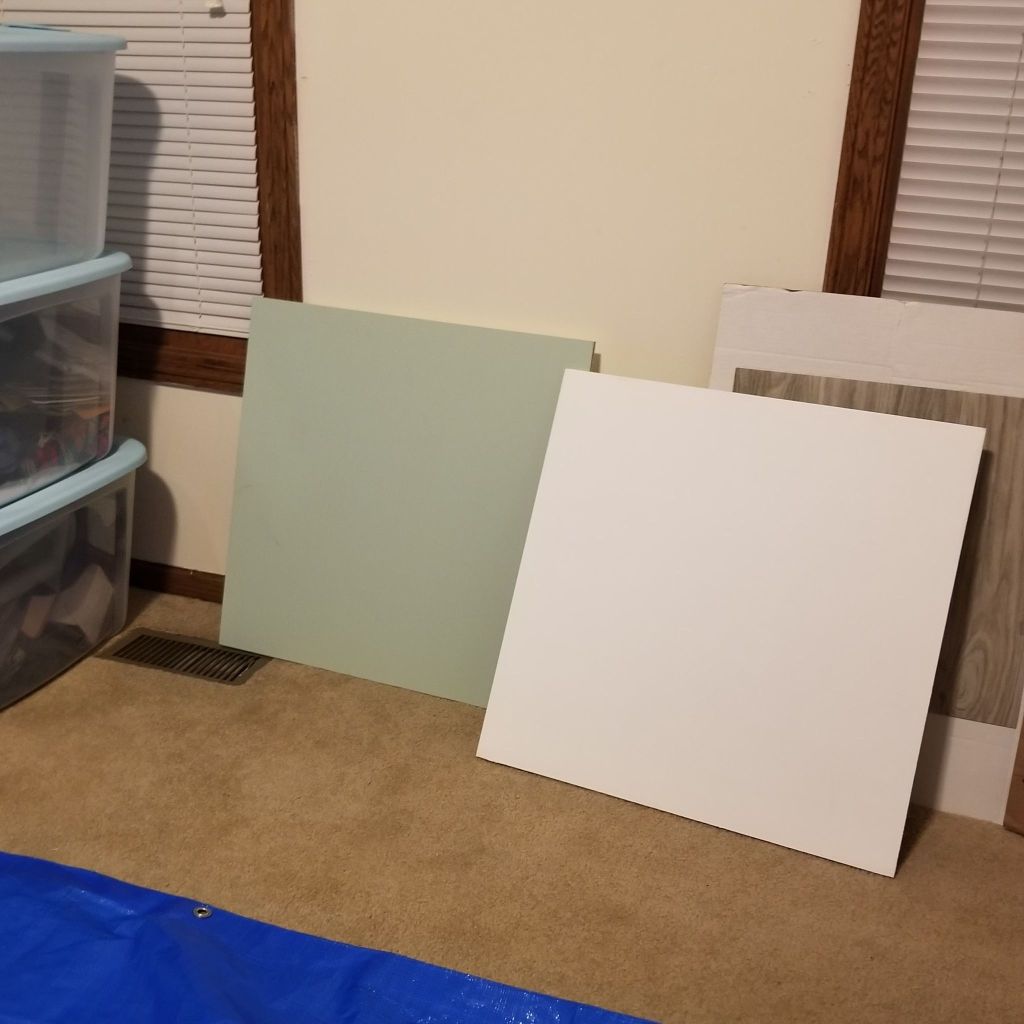
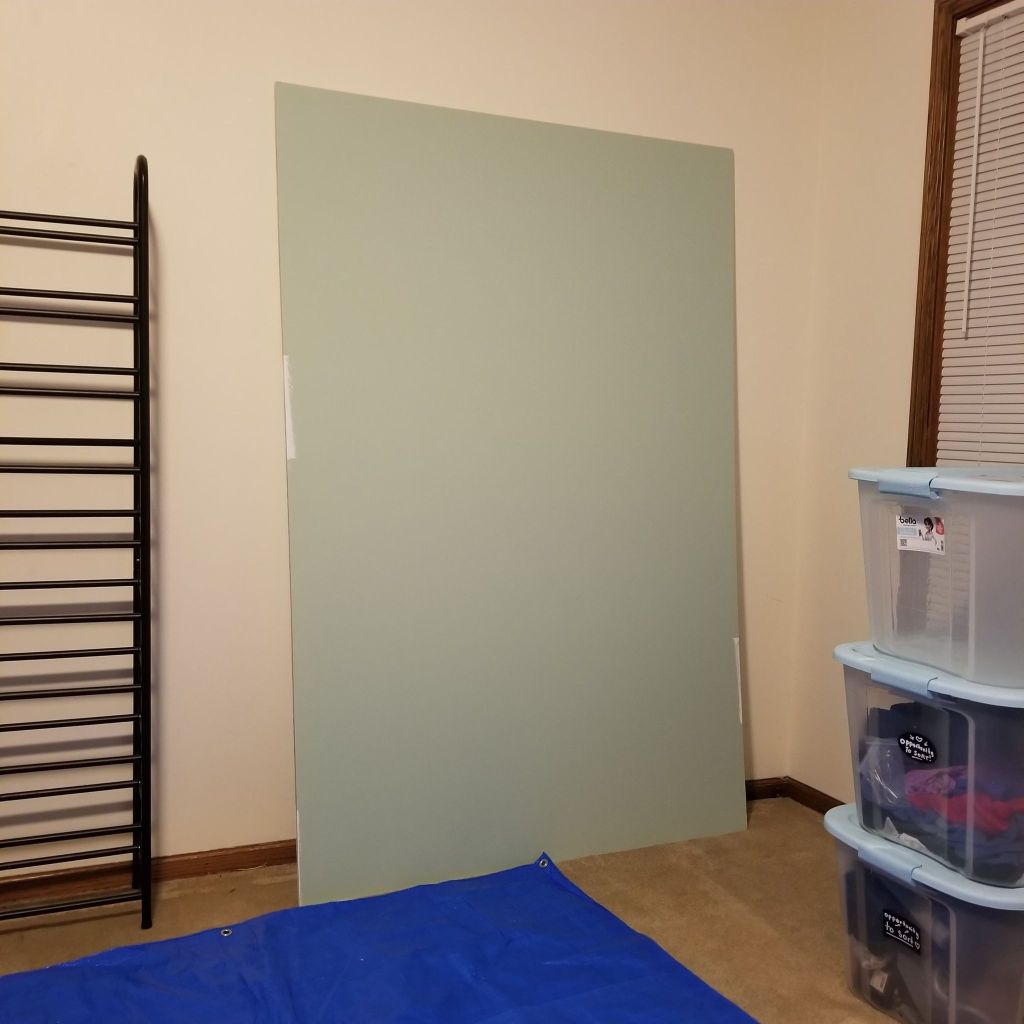
I recommend one side being white and the other side being a lighter color but hey, it’s your board! I went with Behr Premium Flat paint in the colors Healing Aloe and Ultra Pure White. One quart per side!
I used this paint kit and bought this extra paint tray.
It’s time to get ready to paint. If you’re painting indoors, make sure you lay down something to avoid getting paint on your floor. I also recommend wearing some comfy clothes that you don’t mind getting paint on. I know, we should try our best to not get paint on ourselves but it’s bound to end up somewhere unwanted and that place is most likely on you. Trust me, I say this as I look down at the paint that has been on my leg for two days now, even though I was wearing full-coverage pants.
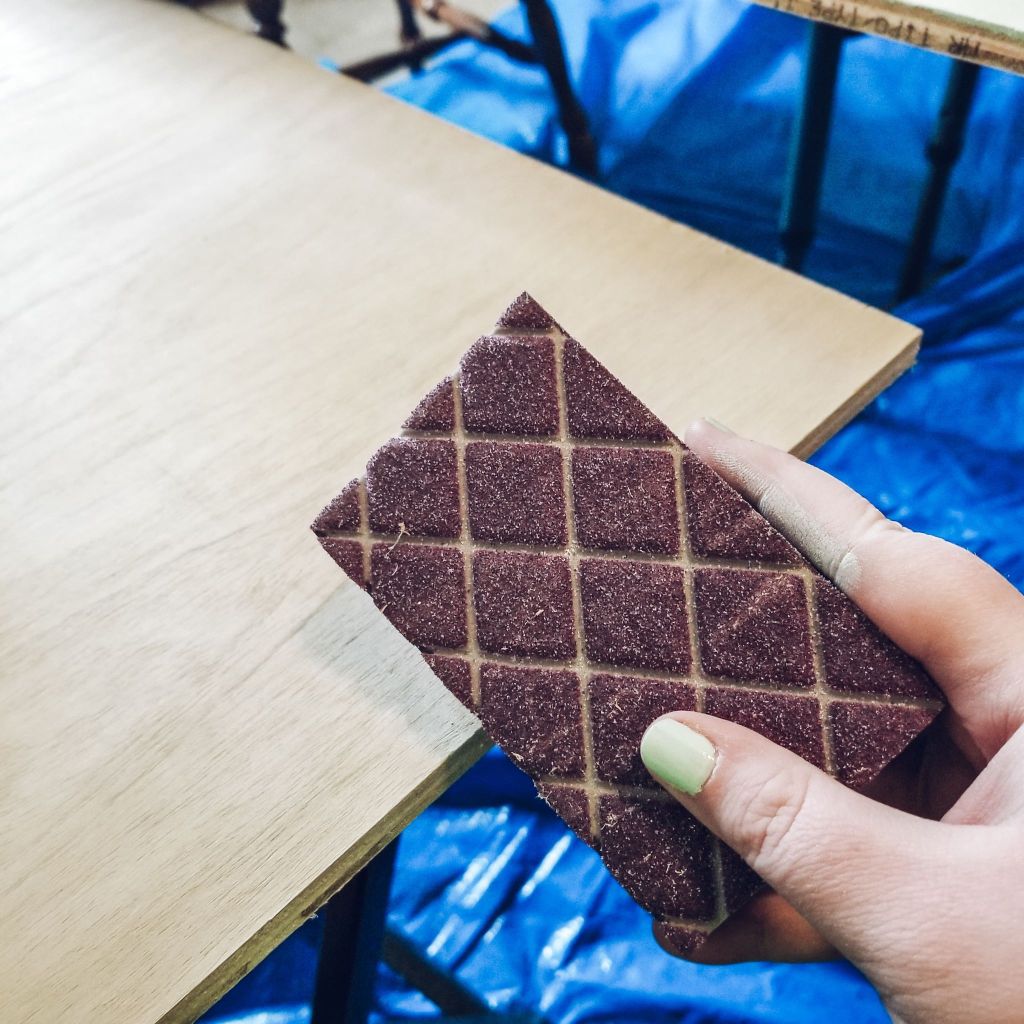
I opted for sanding down the edges a little bit, mainly where the board had been cut. You do not have to do this. I didn’t spend forever on this part and you could always go back and do it later if it is bothersome. I used a 3M sanding block we had on hand.
Don’t forget to stir your paint after you pop it open! I forgot a stirrer so we now have a butter knife dedicated to painting projects. Hey, we don’t judge here.


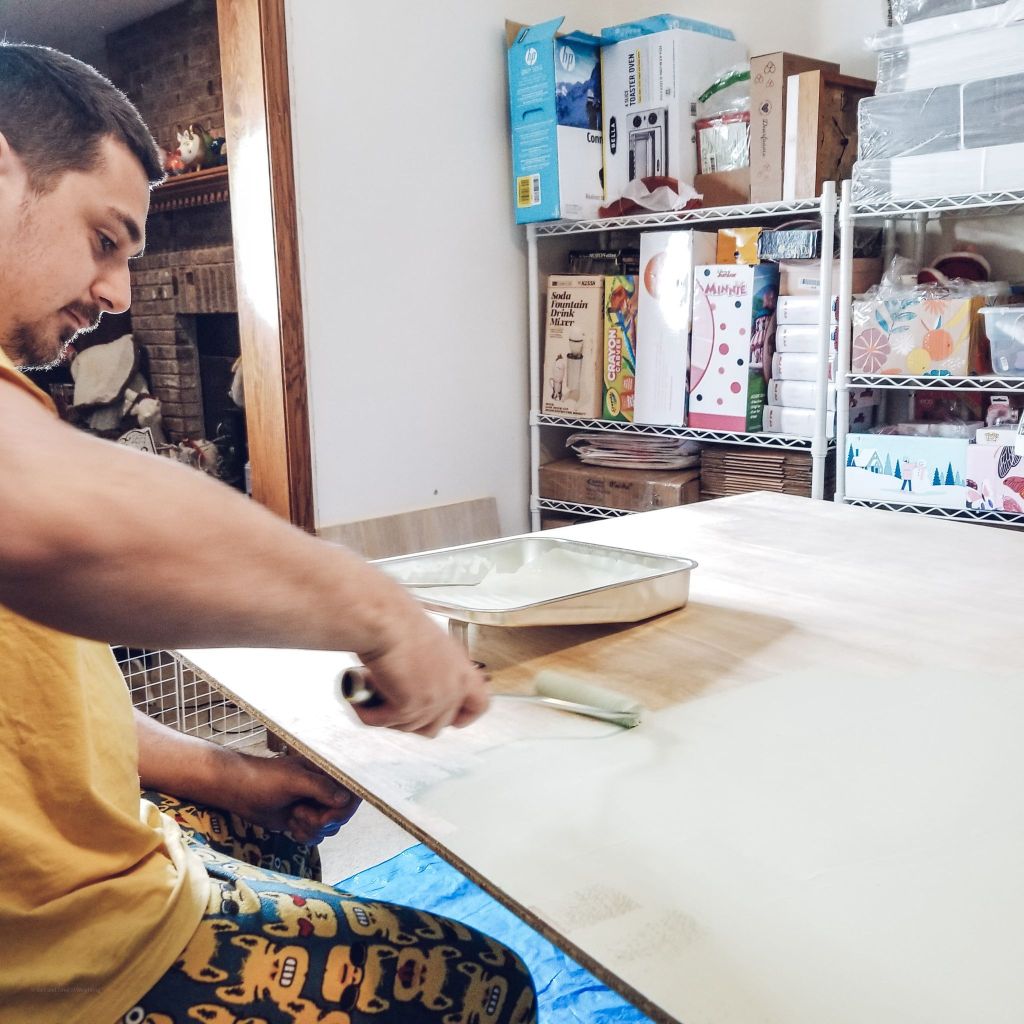
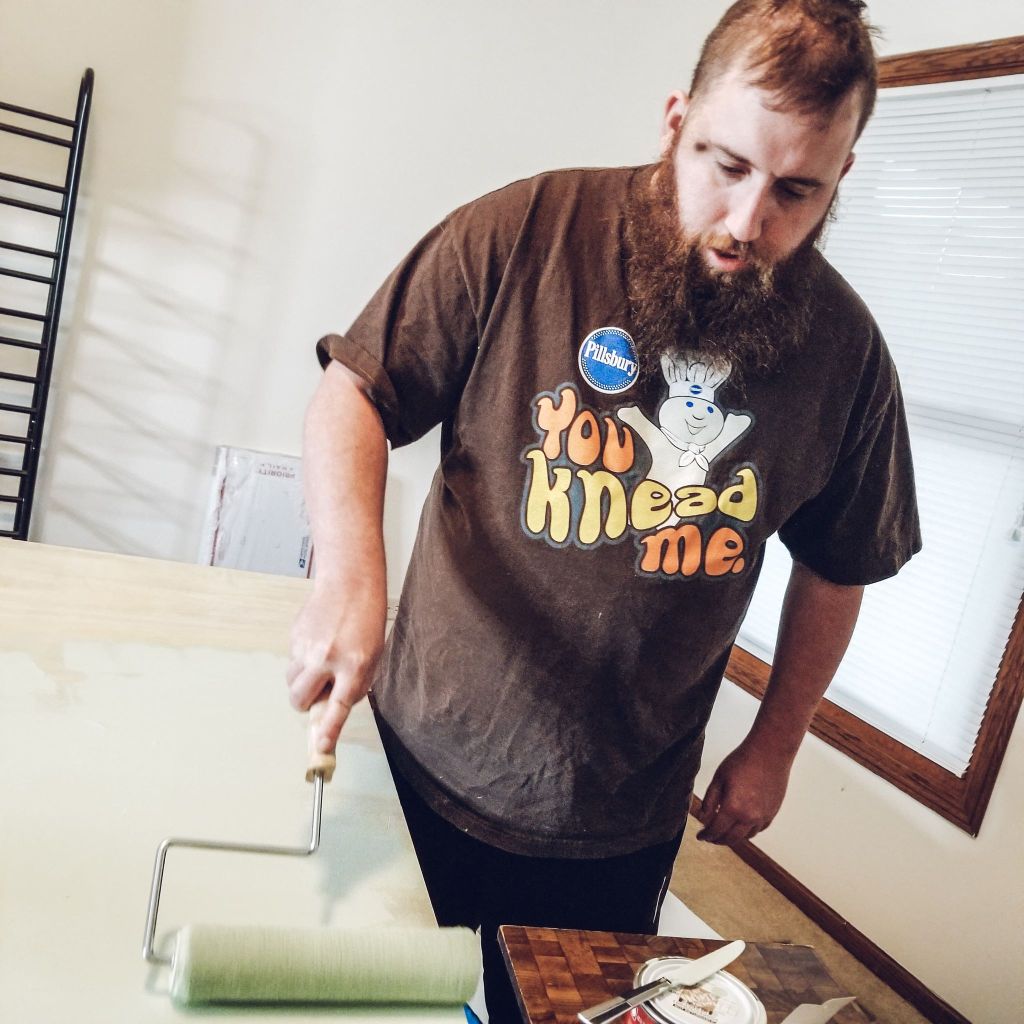
You’ll want to do two coats; allowing it to dry two hours after the first coat and one hour after the second.
We painted the first side of each of the three boards with the non-white paint first.
Be careful if you use a roller like we did. It is very easy to slip under the board when you’re painting the edges. If this happens it is not the end of the world! You’ll just have to touch it up that side if you’ve already applied your other paint color.
After your boards are dry, it is time to hang a hook on your board. I have a very strong love for Command hooks. You could use any kind of hook though. There are a lot of beautiful choices on Amazon, like this Rustic Brass hook that I’ve been eyeballin’.
Make sure you find the middle of your board so that your hook is placed evenly.
That’s it! That’s all there is to it.
If you have any questions and need some help, leave a comment below and I’ll do what I can.
I am extremely happy with how this project turned out. It took less than a day to do.
Here’s a comparison with items against the backdrop: